A follow-along guide from the workshop. Event page: luma.com/lmoedbha.
What you'll need
Two things:
- A computer set up for coding locally. If you're on a Mac, here's a quick walkthrough.
- An AI coding agent. Claude Code, Cursor, or Codex — whichever you like. Installed and able to edit files in a project.
What this guide covers
A short "How to API" walkthrough before the build. The basics:
- What an API is and how to talk to one.
- Building API routes in Next.js — the external API calls live on the server side, not in your browser code.
- Handling API keys securely — keys go in environment variables on the server, never in client code.
You can work through this at your own pace.
What's an API?
An API (Application Programming Interface) is how one app asks another app for data or to do something.
The classic analogy: a restaurant. You don't go in the kitchen — you order off a menu (the API), the waiter takes your request, the kitchen sends back food (the response). Your app is the diner; the other service is the kitchen.
If you want weather, you ask a weather API. If you want a Pokémon, you ask PokéAPI. If you want a haiku written by a frontier model, you ask Claude. Same shape every time: send a request, get a response.
That's the whole concept. We'll go from there.
The intro walkthrough
The flow we worked through at the workshop:
1. Create a Next.js app. In an empty folder, run the command below and accept the defaults.
npx create-next-app@latest .
2. Start the dev server. You should see the Next.js starter at localhost:3000.
npm run dev
3. Save the design image below — it's the layout inspiration for the page you'll build.
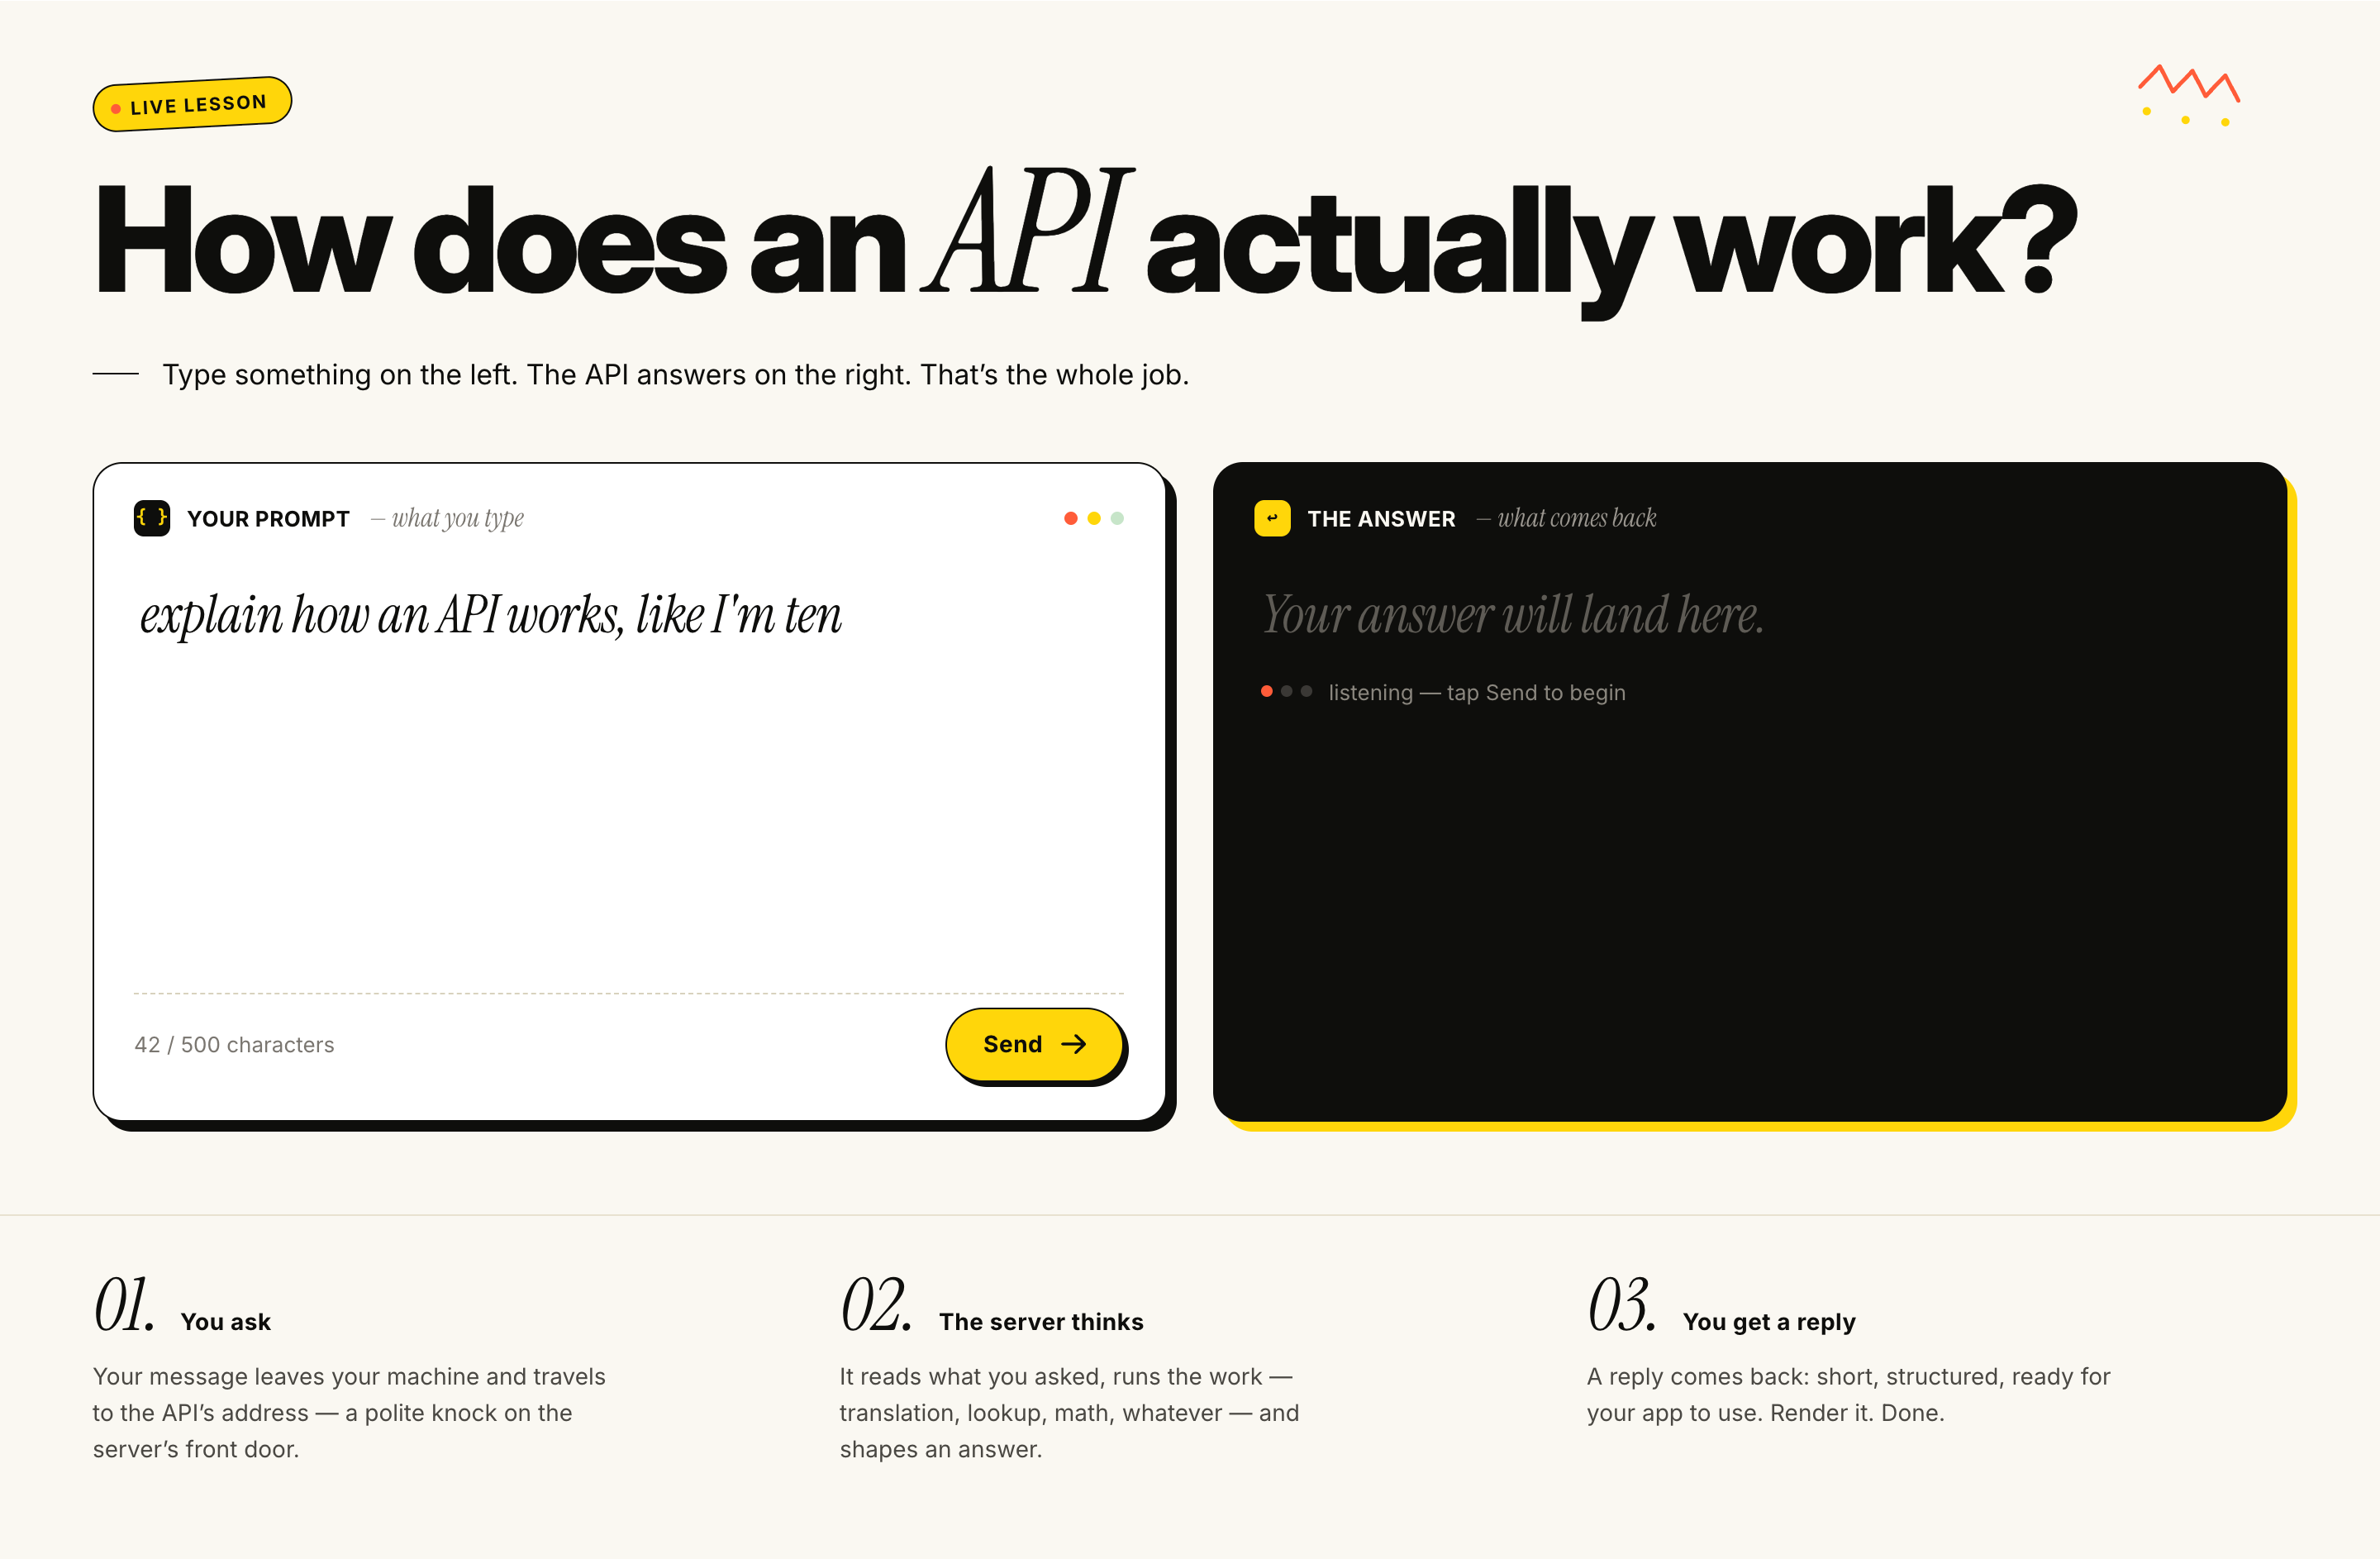
4. Open your AI coding agent (Claude Code, Cursor, Codex — whichever you use), attach the image, and paste this prompt:
Look at the attached image for the design of a page. For now just build out this in front end code. On the left is an text input box and a button that will trigger an API call. On the right is the response from that API when it's received. I'll add the API route later. do it at the main page route.
5. Scaffold the API route. In your editor, add a folder called api inside app/, then inside api add another folder called test-api, and inside that create an empty file called route.ts. Final path: app/api/test-api/route.ts.
In Next.js, that file becomes the URL /api/test-api — the endpoint your front-end will hit when you click Send. We'll fill it in next.
6. Wire up the API and connect it to the front-end. Back in your AI coding agent, paste this prompt:
1. Use @app/api/test-api/route.ts to create a simple API input and output using NextResponse. Input will be a string, and output will be a string. Just add "You said the following:" to the beginning of the input for the response.

2. Connect this to the logic in @app/page.tsx.
Now type something on the left, hit Send, and you should see "You said the following: …" come back on the right. That's a full round-trip — front-end → API route → response — and from here you swap in any of the fun APIs below.
7. Swap in the Gemini API (plan mode). Time for a multi-step API: take an input, ask Gemini for an image prompt, then send that prompt to Nano Banana to generate an image. This is a bigger change, so flip your agent into plan mode first (in Claude Code: press Shift+Tab to toggle Plan Mode) so it lays out the changes before touching files. Then paste:
Now I want to change this API route to use the Gemini API. The input will just be a thing (think person, object, or animal). Then generate text for an image prompt. It should be for creating an image in a watercolor style where the input is inserted into a scene from the Wizard of Oz. Then send the generated image prompt and send it to create an image using Nano Banana.

Use the docs at: https://ai.google.dev/gemini-api/docs to guide.

The Gemini API key should be loaded from GEMINI_API_KEY in .env.local.
8. Add your Gemini API key. Your agent will have created a .env.local file at the project root. Grab a key from aistudio.google.com/apikey, open that file, and paste your key in as the value of GEMINI_API_KEY. Stop the dev server (Ctrl+C) and run npm run dev again so Next.js picks up the new env var.
9. Add billing credits. The Gemini image models (Nano Banana) aren't on the free tier, so you'll need a few dollars of credit to use them. Go to aistudio.google.com/billing and follow the prompts from Google to set up billing. Add a small amount (a few dollars is plenty for tonight) and skip the auto-reload / auto top-up option — pay-as-you-go is fine for testing.
10. Test it out. Type a thing — a person, an object, an animal — hit Send, and watch the Wizard of Oz watercolor render on the right. If something breaks, copy the error from the terminal where npm run dev is running and paste it back to your agent. It'll usually fix it on the next pass.
Ship it to the web
Once it's working locally, push it live so you can share the link.
1. Create a new GitHub repo. Go to github.com/new, name it, skip the README/license/.gitignore checkboxes (your project already has files), and create.
2. Set the remote. Copy the repo URL GitHub shows you and run:
git remote add origin https://github.com/YOUR-USERNAME/YOUR-REPO.git
3. Commit and push:
git add .
git commit -m "Initial Gemini image route"
git push -u origin main
4. Create a Vercel project. Go to vercel.com/new and import the GitHub repo you just pushed.
5. Add your env var. In the Vercel project's Environment Variables, set GEMINI_API_KEY to the same key you put in .env.local. (.env.local is gitignored, so Vercel can't read it from the repo.)
6. Deploy. Click Deploy. Vercel builds and hands you a public URL — share it.
The Fun APIs
The menu from the workshop. Pick one, two, or three and combine them.
Auth key: 🟢 No auth · 🟡 Free API key · 🔵 Free tier + key
Generative AI
- 🔵 Anthropic Claude — frontier LLM, tool use, vision · Docs
- 🔵 OpenAI — GPT, DALL·E, Whisper, embeddings · Docs
- 🔵 Google Gemini — long context, multimodal, generous free tier · Docs
- 🔵 Groq — absurdly fast inference for open-weight models · Docs
- 🔵 Replicate — run/fine-tune open and closed models (image, video, text) · Docs
- 🔵 ElevenLabs — voice synthesis and cloning · Docs
- 🔵 AssemblyAI — transcription + speech understanding · Docs
Reliable Staples
- 🟡 NASA APIs — Astronomy Picture of the Day, Mars rover photos, asteroids · Docs
- 🟢 Frankfurter — currency exchange rates, zero auth · Docs
- 🟢 REST Countries — everything about every country · Docs
- 🟡 OpenWeather — weather, forecasts, historical · Docs
- 🟡 CoinGecko — crypto prices, generous free tier · Docs
- 🟡 Giphy — GIF search and trending · Docs
- 🟡 Unsplash — free high-quality photos · Docs
Weird and Wonderful
- 🟢 PokéAPI — complete Pokémon database · Docs
- 🟢 Rick and Morty API — characters, episodes, locations · Docs
- 🟢 SWAPI — Star Wars data · Docs
- 🟢 Deck of Cards — server-side card shuffling and dealing · Docs
- 🟢 Open Trivia DB — trivia questions with categories and difficulty · Docs
- 🟢 TheMealDB — recipes, ingredients, cuisine data · Docs
- 🟢 TheCocktailDB — cocktail recipes and ingredients · Docs
- 🟢 Open Library — book metadata, covers, reading lists · Docs
The Surprises
- 🟢 Metropolitan Museum of Art — high-res art + rich metadata · Docs
- 🟢 Art Institute of Chicago — open collection API, gorgeous imagery · Docs
- 🟢 Open Food Facts — barcode lookup for food products worldwide · Docs
- 🟢 Dog CEO — dog photos by breed · Docs
- 🟢 TV Maze — TV show schedules, cast, episodes · Docs
- 🟢 Wikipedia REST API — article summaries, on-this-day, featured content · Docs
A few classic fun APIs have died over the years. We've checked these recently, but verify before you commit. If one is down, pick another.
Mashup ideas to get you thinking
The best demos usually combine two or three APIs. Some starters — feel free to ignore all of these and bring something weirder.
- MET Museum + Claude + ElevenLabs → a painting narrates its own backstory.
- OpenWeather + Claude → passive-aggressive weather forecasts written in the voice of a disappointed parent.
- Deck of Cards + Claude → Create your own card game and with a sidekick tutor.
- PokéAPI + Claude → Pokémon-themed cover letter generator.
- Rick and Morty API + ElevenLabs → Rick narrates your to-do list in character.
- Dog CEO + Claude → "what dog breed are you feeling like today?" mood matcher with a real photo.
- Wikipedia on-this-day + Claude → 1920s radio anchor reads you the news from 100 years ago.
- TheCocktailDB + OpenWeather → cocktail recommendations based on the weather outside.
- TheMealDB + Replicate → turn any random recipe into a styled food photo.
- Open Food Facts + Claude → roast-your-groceries: scan a product, get a nutritionally grounded comedy bit.
- Art Institute of Chicago + Claude → paintings write their own dating profiles.
- Frankfurter + Claude → currency converter chatbot in character as a grizzled FX trader.
- SWAPI + Claude → Star Wars character writes your performance review.
- Open Trivia DB + Groq → ultra-fast trivia battle, judged by an LLM.
Extra trophy points for entertainment value, so optimize for the laugh.
Helper prompts for your AI agent
A couple of starter prompts to copy-paste into Claude Code, Cursor, or Codex. Adjust to taste.
Summarize what an API can do:
Read the API documentation at [link] and give me a summary of what I can do with it, plus the key things I need to set up to make it work (auth, base URL, any quirks).
Set up a specific API call (input → output):
Set up the [API name] in my Next.js app. I'm going to input [property] and I expect to get back [output] so I can use it in my application.
A real example using one of the APIs above:
Set up the OpenWeather API in my Next.js app. I'm going to input a city name and I expect to get back the current temperature, conditions, and an icon so I can display today's weather on the homepage.
Have fun building — Jeff.